How to Clean White Sneakers Without Damaging Them
I pulled out my favorite pair of white sneakers to finish an outfit, but the scuffed toes made everything feel slightly off. The rest of the look sat right, yet those marks pulled the balance down.
It was the kind of small detail that made me hesitate at the door.
I had tried wiping them quickly before, but the fabric never looked even afterward. The whole effort felt pointless when the sneakers still read as tired.
I needed a way to bring them back without creating new problems like stiffness or color shifts that would ruin how they sat with everything else.
How to Clean White Sneakers Without Damaging Them
This is the approach I return to whenever the sneakers need attention but the outfit still has to feel balanced and comfortable. It leaves the shoes looking even and natural again so they sit properly with the rest of the clothes.
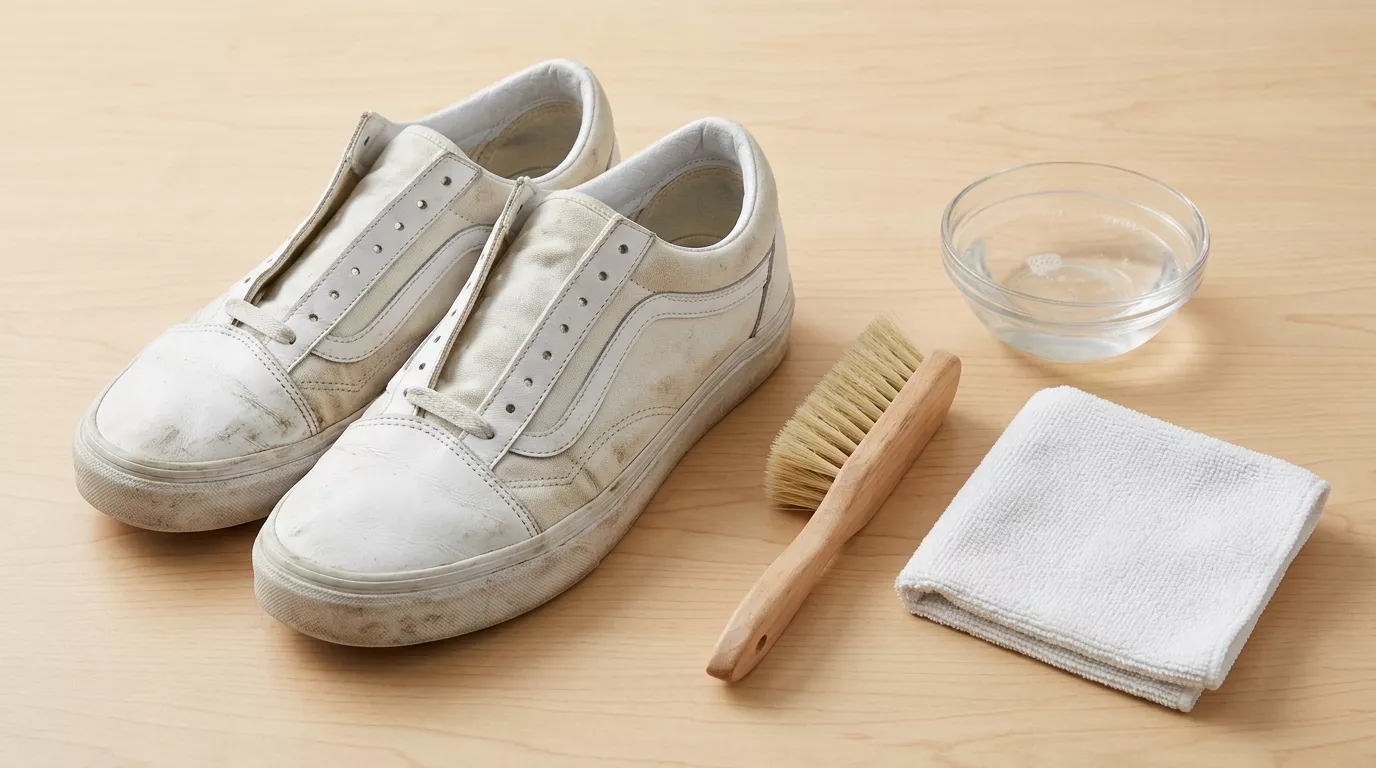
What You’ll Need
- Soft natural-bristle brush
- White cotton cleaning cloths
- Mild soap bar in plain white
- Small bowl of cool water
- Old toothbrush with firm bristles
- Clean white towel for drying
- Light canvas sneakers in good shape
- Spare pair of laces in matching tone
Step 1: Clear a steady surface and remove the laces
I start by finding a flat spot with good light so I can see exactly where the dirt sits.
This matters because uneven cleaning shows up later when the sneakers are back on, and the proportions of the outfit feel slightly wrong again.
Once the laces are out, the shoes open fully, and I can reach the tongue and sides without forcing anything. The fabric stays relaxed instead of getting pulled or creased during the process.
People often skip this and work around the laces, but that leaves hidden dirt that throws the color off once everything dries.
Keeping the shoes relaxed also prevents the upper from stretching out of its natural shape.
Step 2: Brush away loose dirt before any moisture touches the fabric
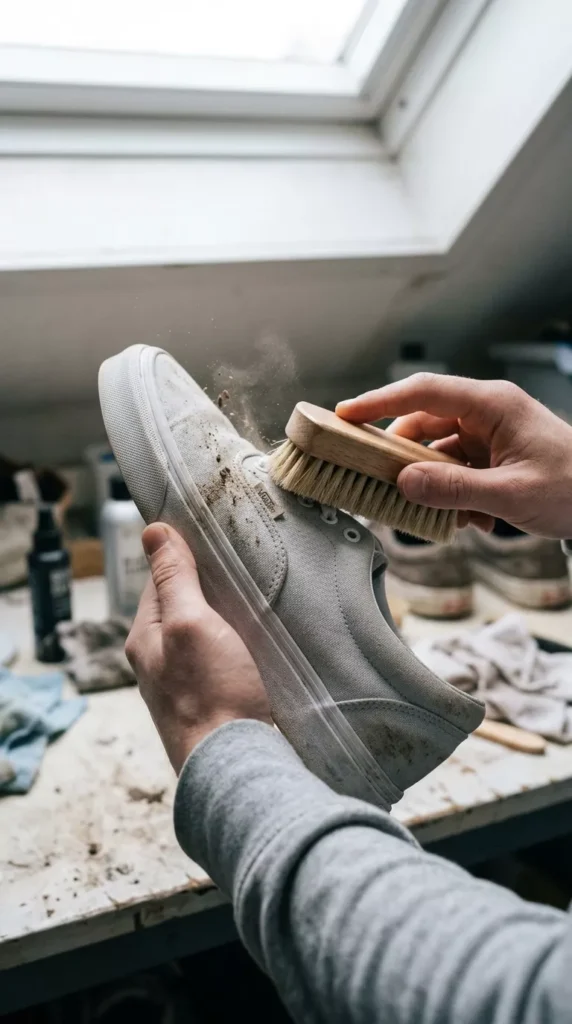
A few light passes with the soft brush lift the obvious grit without grinding it in. I work in the direction the fabric naturally sits so the weave does not get disturbed.
At this point, the sneakers already look lighter, which tells me the real marks are now visible.
That small change helps me decide how much attention each area actually needs.
The mistake here is brushing too hard or in circles. It can flatten the texture and make the material look worn even after it is clean, which ruins the fresh balance I am trying to keep with the rest of the outfit.
Step 3: Work the soap gently into the canvas without soaking it
I dip the cloth, not the shoe, and dab the mild soap where the fabric needs it. The goal is to lift marks, not push water deep into the layers that will later feel stiff.
I check the color of the cloth often. When it stops picking up much, I know that section is done, and I move on before the material stays damp too long.
One thing I have learned is that less soap and more passes with a clean section of the cloth keep the finish even. Over-soaping creates a film that shows up as dull patches once the sneakers dry and the outfit is back together.
Step 4: Rinse lightly and reshape while the fabric is still damp
A barely wet cloth removes the soap without flooding the sneakers. I press rather than rub so the shape of the toe box and sides stays true.
While they are still slightly damp, I slip the old laces back in loosely and set the shoes on the towel with tissue inside. This keeps the proportions I need when they are worn again.
Rushing the drying or leaving them in direct sun often leaves them misshapen.
The fit around the foot changes and suddenly the sneakers no longer sit right with the length of the trousers or hem.
Step 5: Let them dry fully before checking the final look
I give them a full day in a shaded spot. Checking too soon hides any faint marks that only appear once everything is dry and the color settles.
When they are completely dry, I put them on with the planned outfit. The clean surface now supports the rest of the clothes instead of pulling attention downward.
Spot checks during the week
I run a dry cloth over the toes every couple of days if the sneakers have seen sidewalks or dust. This keeps small marks from settling and saves a full cleaning later.
A quick glance at the soles also matters. Dirt trapped there transfers to light trousers and undoes the balanced line I just restored.
Keeping the color steady over time
I store the sneakers away from direct light and never next to darker shoes that can rub off. The white stays even longer when the pair is not constantly brushing against other colors in the closet.
Rotating with a second pair also helps the fabric rest. Constant wear in the same spots eventually shows as faint shading that no amount of cleaning fully erases.
Final Thoughts
Start with just one pair and one quiet afternoon. The process feels manageable once you see how little pressure the fabric actually needs.
Pay attention to how the sneakers sit with your usual clothes after they are clean. That simple observation builds confidence faster than any detailed checklist.
Small, steady care keeps the whole outfit feeling intentional without extra effort.