How To Hem Jeans With Original Hem Perfectly
I pull on jeans and stare at the frayed original hem. Too long. Too chopped in the past. Something feels off.
I want the worn stitch to stay. I don’t want sloppy proportions.
I learned a simple way to keep that original hem and get the right length for real outfits.
How To Hem Jeans With Original Hem Perfectly
This is the method I use every time an outfit feels unfinished. You’ll learn how to preserve the original hem while getting a clean, wearable length that sits right with the shoes you actually wear. The result is balanced, intentional jeans that feel made for you.
What You’ll Need
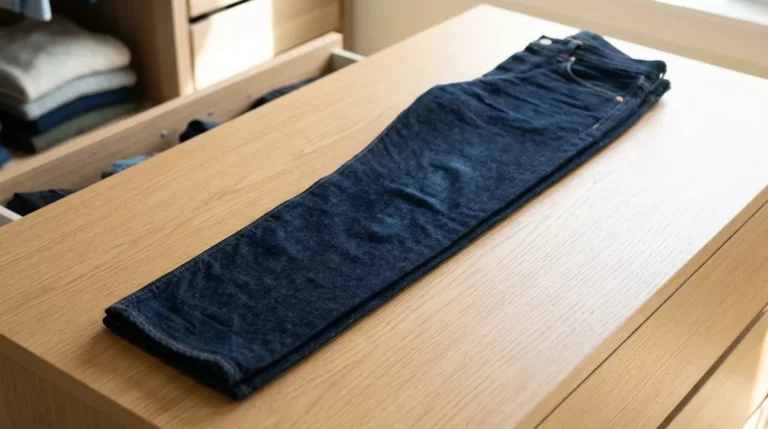
- Mid-rise straight-leg jeans with original hem and visible topstitching
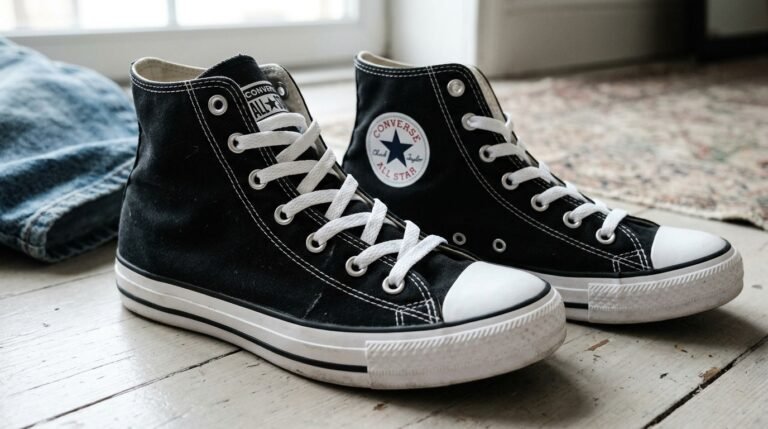
- Low-profile slip-on sneakers (white or black) I wear barefoot
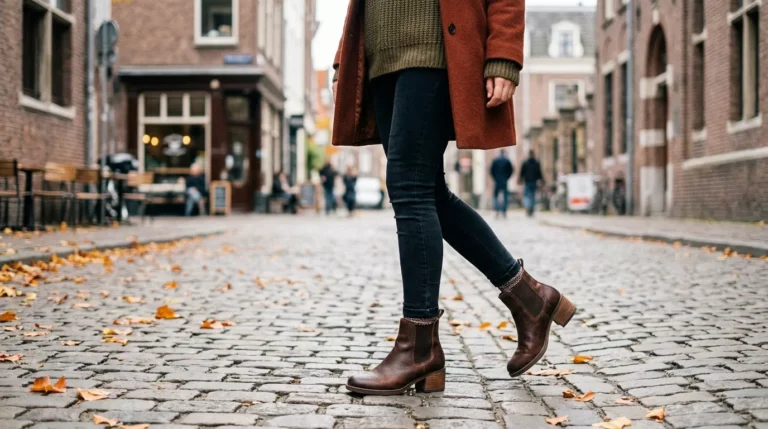
- Leather ankle boots with 1–1.5″ block heel
- Thin neutral ankle socks (cotton or bamboo)
- Small safety pins to test shortened length
- Full-length mirror with bright, daylight-like light
- Denim-savvy tailor or alteration shop I trust
Step 1: Try the jeans on with the shoes you’ll actually wear
I put the jeans on with the shoes I plan to pair them with. I check how the fabric falls over the foot. I pay attention to where the hem hits the shoe, and whether it creates a clean line or a messy scrape.
Visually, the right length changes the whole silhouette. If the hem stacks oddly, the leg looks heavy. If it stops too high, the leg looks short. A common insight I missed at first is that socks and shoe type shift the ideal length more than I expected.
Small mistake to avoid: deciding the length without wearing the shoes you’ll use most. It always costs me time.
Step 2: Pin the new length above the original hem and test the hang
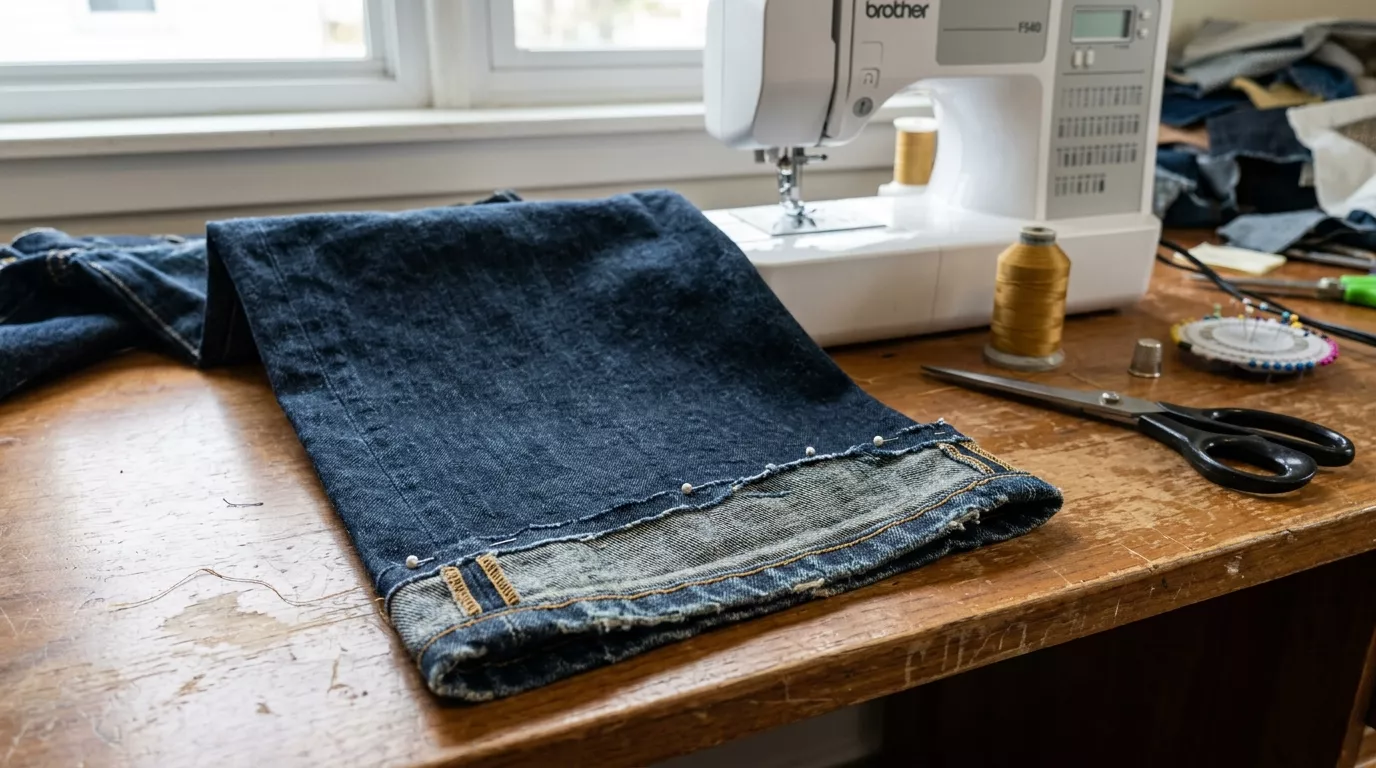
I fold the jeans up to the length I want, but I keep the original hem intact. I use small safety pins to hold the fold above the original hem so I can walk and sit. I watch how the denim flares or stacks.
The visual change is immediate: the leg reads shorter, cleaner, and more intentional. People often miss testing movement — standing still can lie to you. The jeans can twist or pull when I walk, changing where the hem lands.
Small mistake to avoid: pinning too close to the original hem. Leave enough fabric above it to reattach without puckers.
Step 3: Check balance front to back and how the hem meets the outer seam
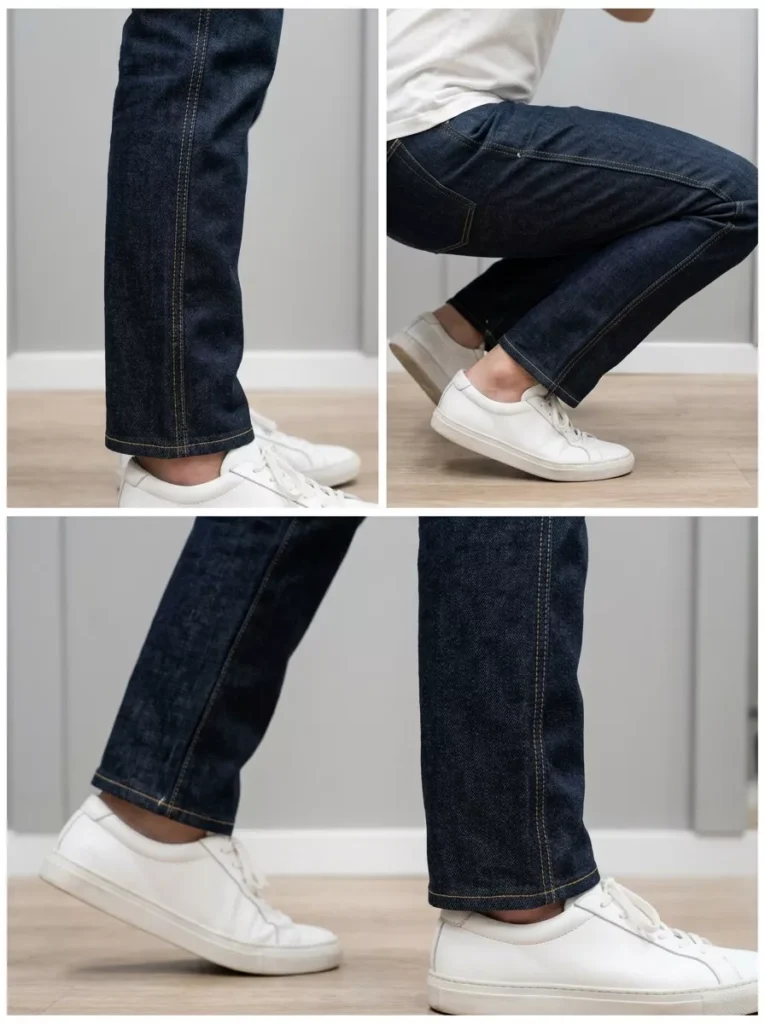
I look at the jeans from several angles. I crouch, sit, and walk. I check that the original hem sits flat against the ankle and that the outer seam lines up straight. I want the stitch detail to remain visible and even.
What changes is subtle but crucial: a flat, even hem keeps the look polished. One insight I learned is that denim twist often shows at the back ankle and ruins the clean line if not adjusted. I watch for that twist and note whether the leg needs a tiny tweak.
Small mistake to avoid: assuming the front length guarantees the back length. Always check both.
Step 4: Decide whether I’ll DIY or bring them to a tailor, and how I’ll explain it
I assess my skills and tools. If I’m not confident, I bring the pinned jeans to my denim-savvy tailor. I show them the pins and explain I want the original hem preserved and sewn back exactly where it fell. I mention any concerns about twist or stack.
Visually, a pro result means the topstitching sits straight and the hem hangs without puckers. A useful insight: tailors are used to “shorten above the original hem” but you must show them the exact fold and desired break.
Small mistake to avoid: saying “just shorten” without showing the original hem. They may cut it off.
Step 5: Final try-on after alteration and small adjustments
I try the jeans on with the same shoes after the hem is reattached. I walk, sit, and check the cuff again. I look for even topstitching and a smooth hang. If I see a tiny imbalance, I ask the tailor for a minor tweak.
The final visual change is confidence: the jeans now sit like they were meant to. One insight I keep in mind is that washing once can soften the hem and settle the length slightly. So I plan for that small shift.
Small mistake to avoid: doing the final fitting barefoot or with the wrong socks. Use what you wore during the marking stage.
When to keep the original hem
I keep the original hem when it has visible character: faded edges, original topstitching, or the factory chain stitch. Those details anchor the jeans and look intentional when preserved.
I skip preserving if the hem is badly damaged or incompatible with the new silhouette. Sometimes a clean, new hem reads better.
Quick checklist:
- Keep it: distinct topstitch, vintage wear, original chain-stitching
- Skip it: heavy damage, uneven fraying that won’t flatten, or a change to a very different leg shape
How shoes change the hem look
I test each shoe I plan to wear with the jeans. Sneakers give a bit more stack. Ankle boots call for a slightly cleaner hit at the top of the foot. Heels shorten the perceived leg length.
Things I watch for:
- Sneakers: allow small stack, casual feel
- Ankle boots: aim for a clean meet at the vamp
- Heels: check where the hem sits against the instep
These small differences change the whole outfit. I decide the final length by the dominant shoe choice.
What I tell my tailor so nothing gets lost in translation
I bring the jeans already pinned at the exact fold I tested. I say: “Please shorten above the original hem and reattach the original hem at this fold. Keep the topstitching aligned and avoid puckers.” I point out any twist or unevenness I noticed while walking.
I also ask for a short test stitch and to try them on before they finish. That keeps the result wearable and true to what I saw in the mirror.
Helpful phrases:
- “Above the original hem”
- “Preserve the original topstitching”
- “Check fit with the shoes I brought”
Final Thoughts
Start small. Try the pins and shoes first. I rarely need more than a tiny tweak.
Keep the original hem when it adds character. If not, a new hem is fine.
Be clear with your tailor. Showing is always better than saying.